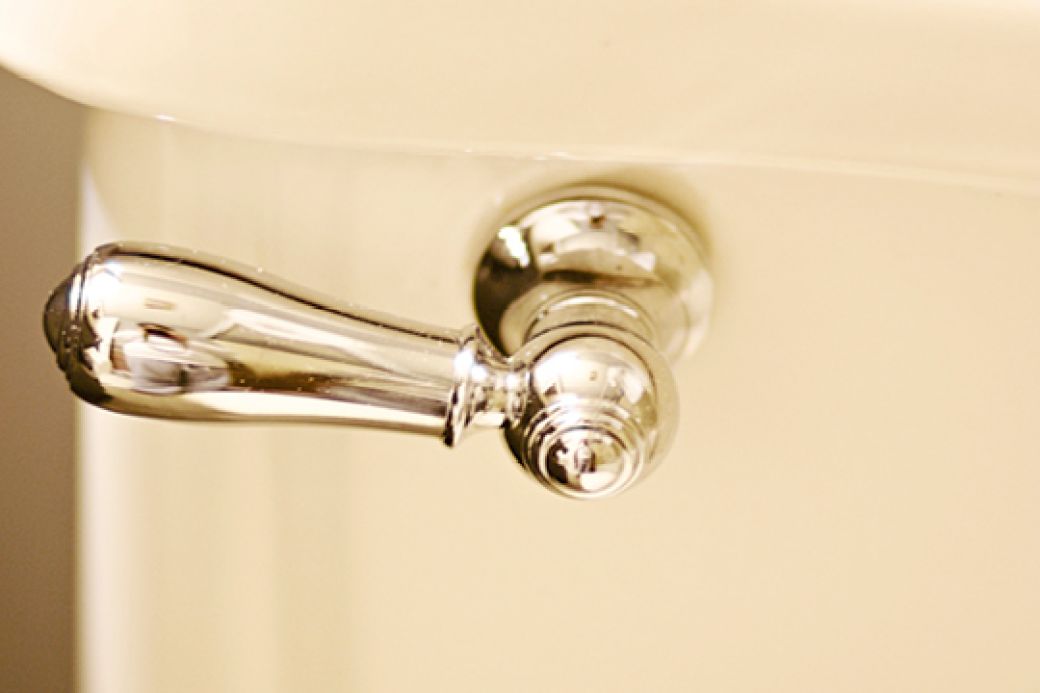
Is your toilet flush handle broken, rusted, pocked, or just plain and old-fashioned looking? Maybe it’s always loose, no matter how many times you tighten that nut on the inside of the tank?
Replacing it with a new flush handle updates the look of the toilet -- and therefore, the whole bathroom — and takes care of annoying wiggles.
It’s an affordable, easy, do-it-yourself job, says Mt Pleasant, S.C., handyman Tim Shaw, who specializes in low-cost bathroom makeovers.
1) Open the Tank
Remove the tank lid and set it on a spread-out towel in an out-of-the-way spot (be careful — porcelain is brittle). Look for a model name or number printed inside the tank (as well as the brand name on the outside), and write that information down. It may come in handy when you buy a replacement handle.
2) Unhook the Lift Chain
You’ll see that the handle is attached to a long arm inside the tank, and that the arm is linked to a chain that lifts the flush valve. Note which hole the chain is hooked to (there are usually three or more holes on the arm) and then unhook the clasp that holds the chain to the arm.
3) Remove the Old Handle
Use a crescent wrench to remove the nut inside the tank that holds the handle in place. Be careful: For the vast majority of toilets, the nut has left-handed threads, which means they turn in the reverse direction of a normal nut. If you were to face the nut directly, you’d turn it clockwise to loosen it.
Don’t force it, because if you turn it hard the wrong way (or the wrench slips and slams into the tank wall), you could crack the porcelain. If the nut is rusted in place, give it a shot of lubricant, such as WD-40, and try again. Once you loosen the nut, remove it by hand, and slide the arm through the hole.
4) Purchase a Replacement
The replacement part you need is called a “toilet trip lever” and it includes the handle and swing arm. They retail for under $20, but models for high-end toilets may cost $50 to $100. Though some trip levers are labeled as universal replacements, there really is no such thing. There are differences between the length and angles of the arms, the placement on the tank (left or right, front or side), and the style and finish of the handle.
Go to a plumbing supply or home center that sells your toilet brand, and ask your retailer for help choosing the right fit. Show them the model number and brand name of your toilet.
“Bring the old handle to the store with you to help select a matching new one,” advises Shaw. “That way you can compare the old piece to the new products being sold.”
5) Attach the New Handle
Use a soapy scrub sponge to clean any mildew or rust stains off the porcelain around the handle hole. Remove the nut from the new handle, and insert the arm into the hole. Slide the nut back over the arm and hand-turn it onto the handle base — again, remembering that it’s likely a left-handed thread.
Use a crescent wrench to firm it up, but don’t over-tighten or you could crack the porcelain.
Related: How to Kill and Prevent Bathroom Mold
6) Attach the Chain
Clip it to the same hole as on the old arm. Then do some test flushes. You want the flush mechanism to open and close fully. If the chain is too loose, the tank won’t drain fully. If too tight, the chain may prevent the flush valve from seating properly, causing it to leak continually.
Adjust by switching which hole the chain is clipped to, or by adjusting the chain up or down a link or two. Keep testing until the flush works just right. Once you’re satisfied, replace the tank lid and you’re done.
Related: 6 Easy, Low-Cost Bathroom Makeovers
