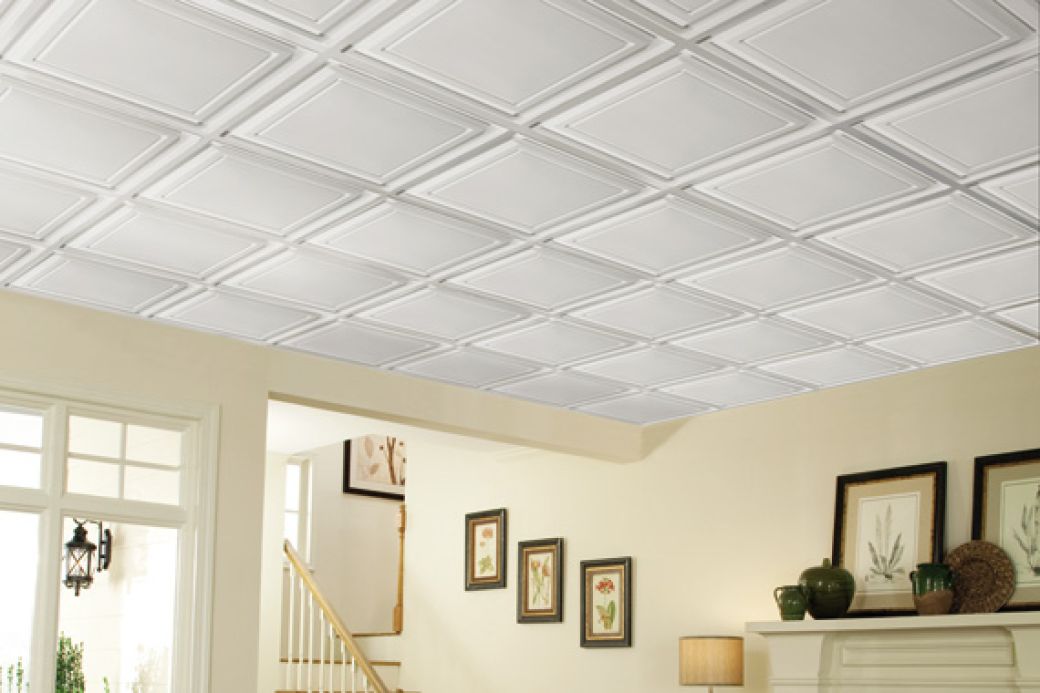
A typical basement ceiling is an unsightly maze of plumbing pipes, wires, ductwork, and structural bracing. But take heart: Hiding all those systems with a finish material will give your basement instant credibility as usable living space.
Finishing a basement ceiling often involves some compromises. In places, ductwork or plumbing pipes are lower than the joists, making it impossible to have a nice, smooth, uninterrupted ceiling. We’ll give you some ideas for getting around those problems.
Hiding Everything with Paint
One of the fastest and most economical ways to finish a basement ceiling is to paint everything. A monochromatic ceiling disguises all the pipes and ductwork — it’s a technique often used in urban spaces that are converted to coffee houses and shops.
A paint sprayer is ideal because it's easy to coat all the various features from different angles. Rent a sprayer and DIY it for $100/day plus paint; have a pro do it for $300-$500 (400 sq. ft.), including paint.
Tips to remember:
- Black and dark colors are more effective than light colors for masking components.
- Use paint with a flat sheen; glossier sheens attract attention.
- You can paint unusual surfaces, such as exposed fiberglass insulation and electrical wires, but prime metal ducts beforehand.
- Clean off cobwebs and dirt before you spray.
Installing Drop Ceilings
A drop ceiling (also called a suspended ceiling) completely covers pipes and ductwork. It’s a metal grid that hangs on wires attached to the joists. Lightweight acoustical panels slide into the grid to form a continuous ceiling surface.
A drop ceiling has these advantages:
- It’s simple to install.
- The panels absorb sound, helping to muffle noise between floors.
- The panels are easy to remove, allowing access to pipes and wires for repairs and making changes.
In the past, drop ceilings have gotten a well-deserved bad rap for being unattractive. However, you now can find acrylic or mineral fiber panels and matching grids that look like coffered frame-and-panel wood, decorative pressed metal, and other cool designs.
DIY your basement ceiling for $2-$3 per sq. ft. or have a pro do it for $3-$6 per sq. ft.
Tip: A primary goal is to install the ceiling grid flat and level. Renting a laser level ($90/day) helps keep your ceiling straight and true. Plan 2 days to install a 400-sq.-ft. drop ceiling.
Installing Paneling and Drywall
If you don’t have obstructions hanging below your joists, you easily can finish your basement ceiling using drywall or paneling, such as 4-by-8-foot sheets of decorative grooved wall paneling.
- Sheet paneling is easy to install, but you’ll have to figure out what to do with the seams at the ends of the panels. If seeing the seams doesn’t bother you, then problem solved. Otherwise, cover the seams with a strip of molding. Plan your paneling layout so that seams occur every 4 feet; run molding all the way across the room for an even, textured look.
Pre-finished sheet paneling costs $12-$29 for a 4-by-8-foot sheet.
- Individual boards, such as tongue-and groove pine, is a good-looking option. It’s more expensive, but it’s lightweight, goes up easily, and makes a good DIY project. You’ll pay about $1.25 per sq. ft. Leave it natural or stain it to let the grain show through.
- Drywalling your ceiling is a good job for a moderately skilled DIYer; it costs about 50 to 60 cents per sq. ft., including materials. However, a pro will finish the job a lot faster and with better results. You’ll pay a pro $1.50 to $2 per sq. ft.
Tip: You’ll need a helper or two because holding 4-by-8-foot sheets of paneling or drywall overhead is awkward.
Getting Around Obstructions
In some basements, pipes or ducts might dip below joists only in certain areas. If that’s the case, you might be able to work around them by building soffits.
- A soffit is a lowered part of a ceiling. It’s made using framing materials to build a box around the obstruction. Drywall or paneling goes over the new framing. Soffits make the most sense along walls, where their lowered height won’t get in the way.
With planning, you can get creative with soffits. For example, even if you only need to cover ductwork at one part of your ceiling, you can extend the soffit all the way around the perimeter of your basement to create a two-level ceiling, called a tray ceiling.
- Box beams are another possible solution. A box beam is a fake, hollow beam made from three boards nailed together. Create a beamed ceiling and let pipes and wires run in the hollow channels. It’s an especially good solution if your basement has tall ceilings and you’d like an elegant look.
Tip: Before building soffits or box beams, explore the possibility of moving obstructions. Talk to your plumber or HVAC specialist to see if moving ducts and pipes is easier — and cheaper — than building around them.
Using Fabric
The simplest way to mask overhead pipes and ducts is with fabric. Nail or staple it to joists and let it hang down so it hides all that overhead stuff. It might make your basement look a sheik’s tent, but that’s not bad! Certainly better than pipes and cobwebs!
Related:
