A little bit of DIY home insulation can protect you from a drafty house and a scary energy bill. In fact, sealing air leaks around your home and adding insulation can make your home more comfortable and energy efficient, providing up to a 10% savings on your annual energy bills, according to the Environmental Protection Agency.
Though most people ask a pro to do the big job of insulating walls and ceilings, here are some quick insulation tips you can do in 15 minutes or less.
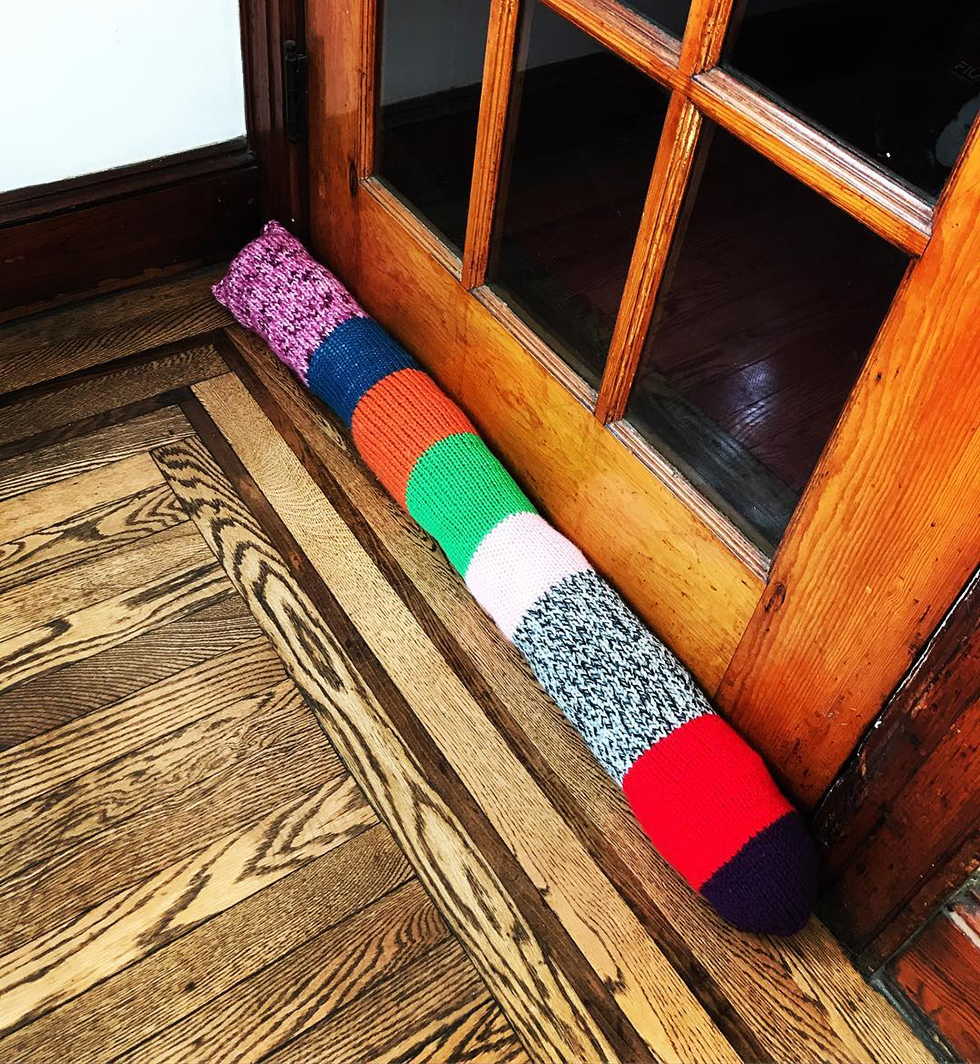
#1 Get a Door Snake — the Simplest DIY Home Insulation Ever

Keep drafts from sneaking in with a door snake, an object you place along that crack under your door. A 1/8-inch gap can let in as much cold air as a 2.4-inch diameter hole in the exterior wall, so a door snake makes a difference.
A rolled-up blanket makes a great snake — or you can buy the real deal for about $9.
#2 Caulk Around the Dryer and Bathroom Vents
The hole in the wall where your dryer and bathroom vents exit the house leak air, too. Go outside and put silicon caulk on the outside edge of the vents, where it meets the wall.
You'll also keep bugs and other critters from sneaking in through the vent gaps.
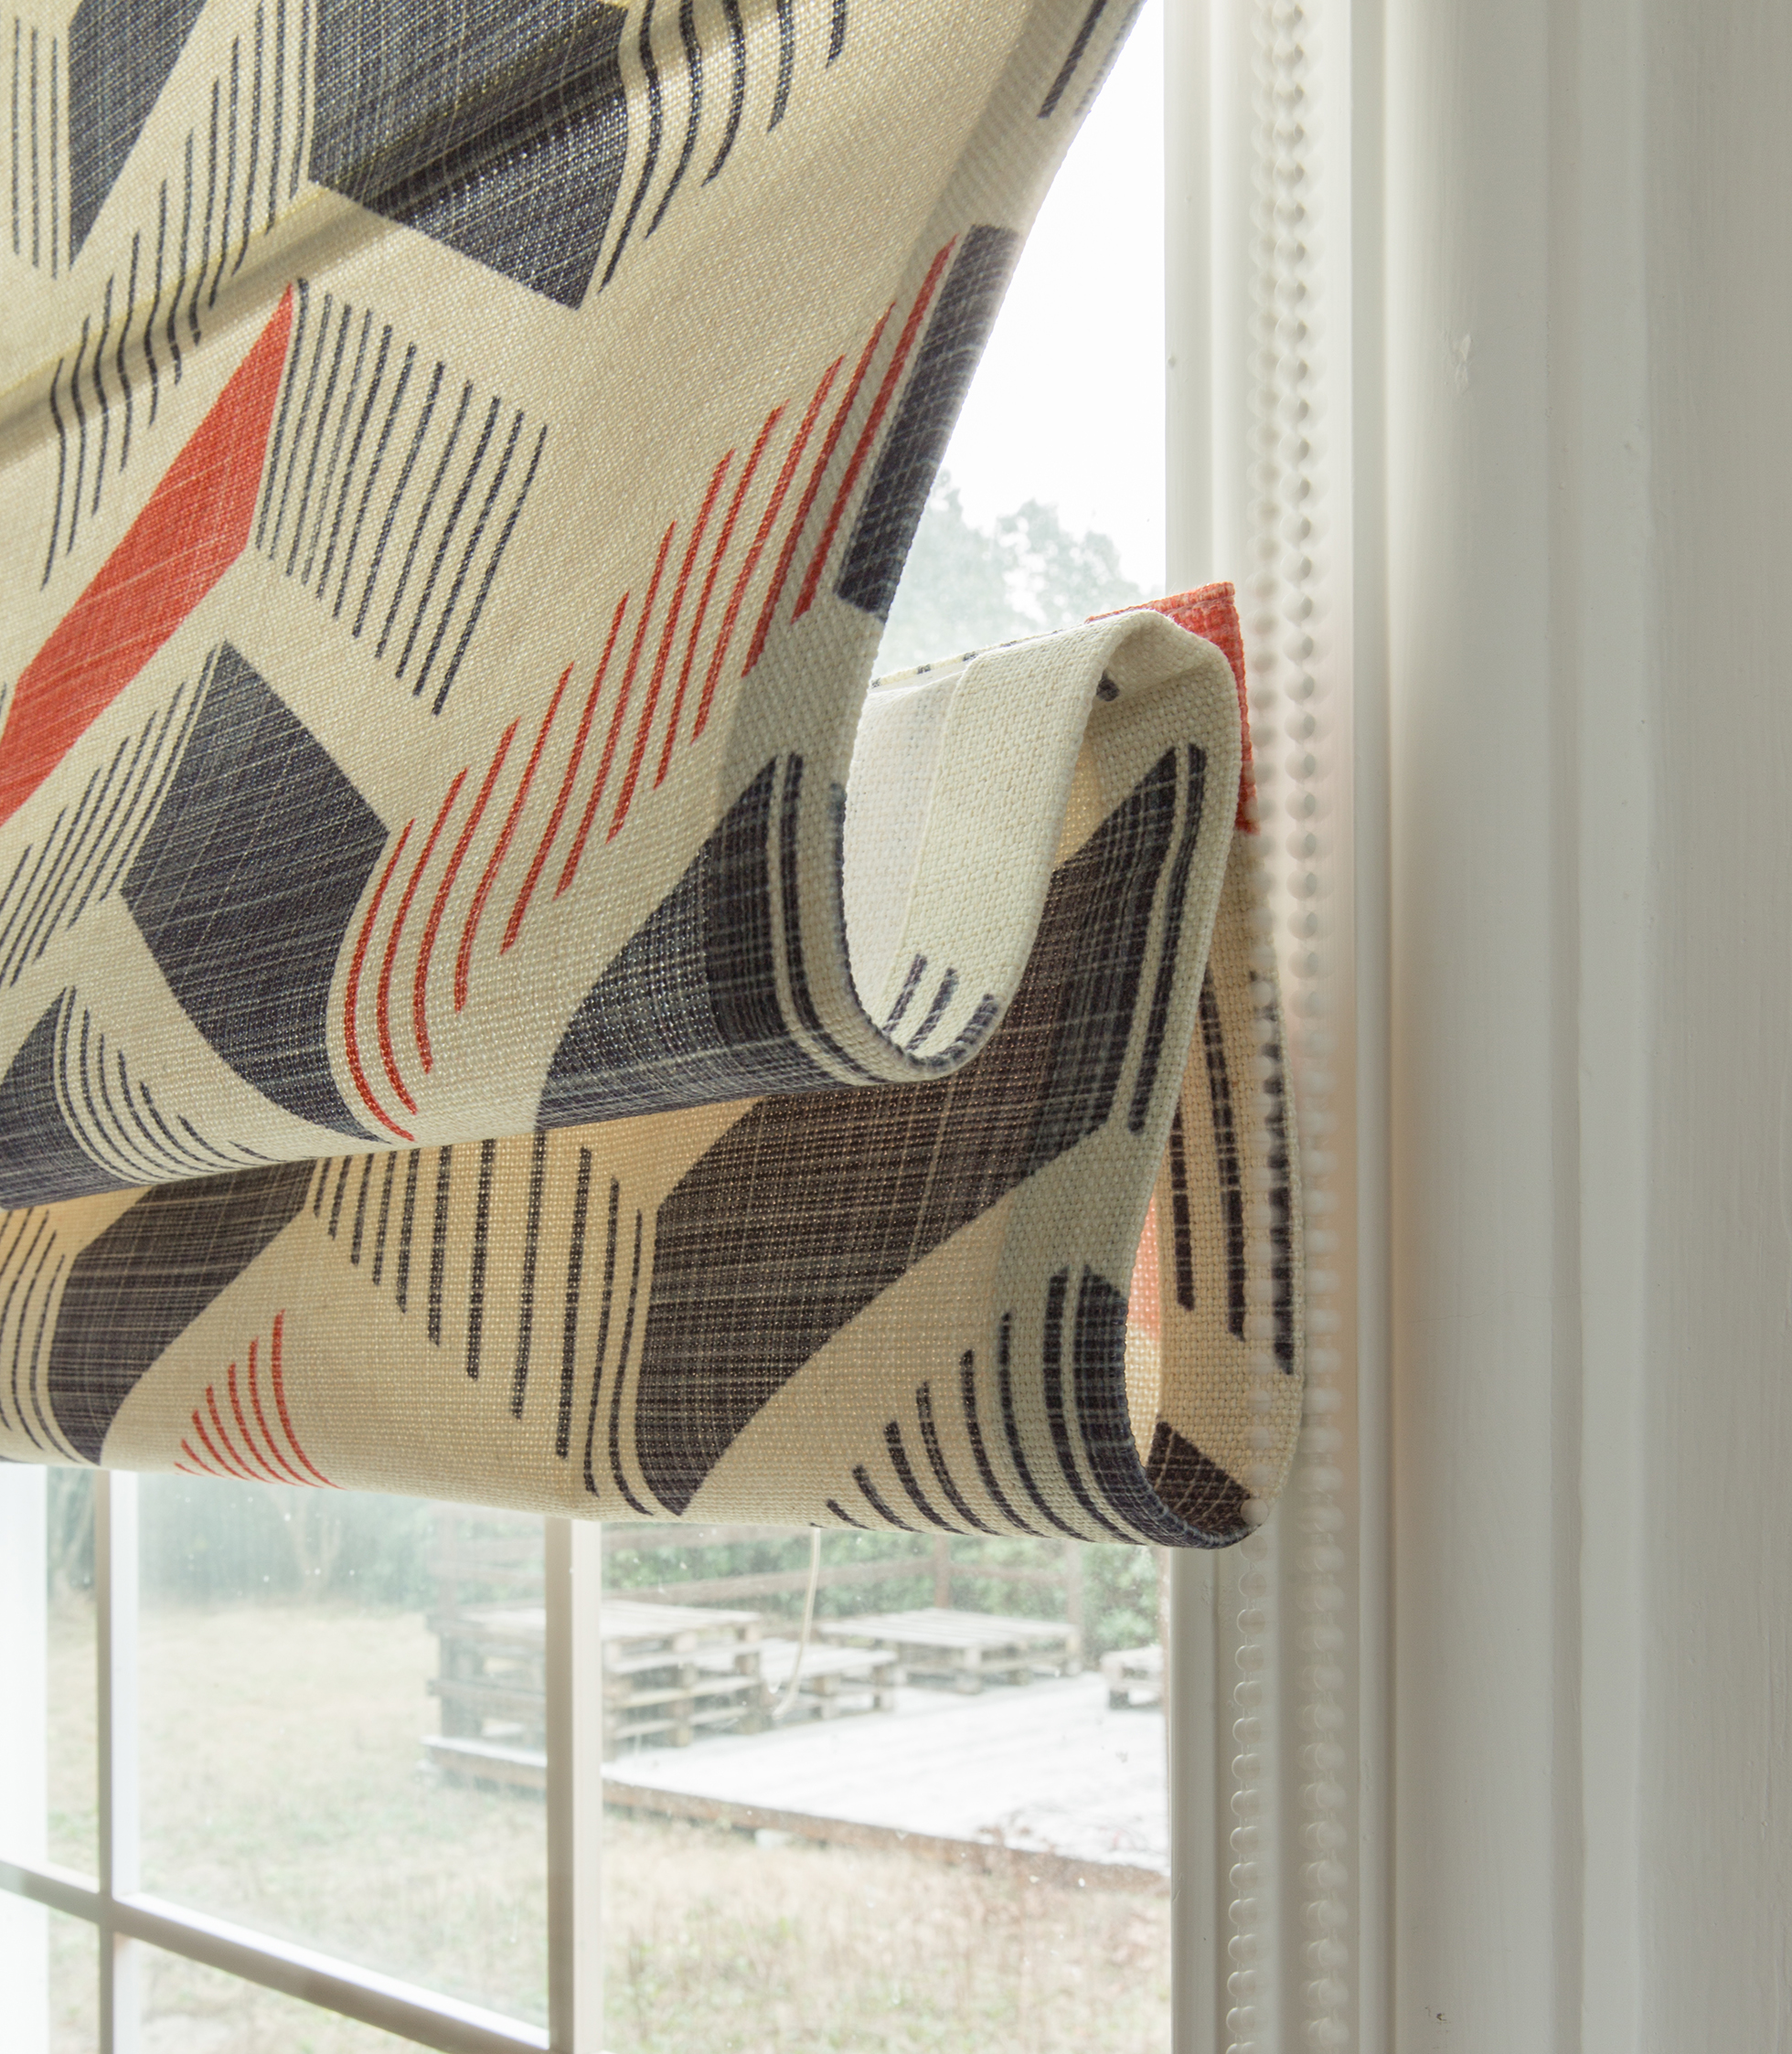
#3 Hang Heavy Curtains

Hang curtains or shades made of thick material that will keep in your expensive, man-made heat during the winter and keep out room-baking sun in the summer.
Open the drapes during sunny winter days. The light lifts your mood and heats your home.
#4 Put Weather Stripping Around Doors and Windows
Gaps around doors and windows are a top source of heat loss.
Install — a narrow piece of metal, vinyl, rubber, or foam — around them to stop conditioned air from escaping, and outdoor air from coming in.
#5 Install Window Insulation Film

Window film adds a layer of cold-blocking plastic reduces heat loss. It comes in sheets you cut to size, tape to the window glass, and heat with a blow dryer to fit snugly and smoothly. It won't block natural light, so you can have your sunshine and your insulated window, too. You can also use this on sliding glass doors.
Make sure to clean your windows first, or the adhesive on the film may not stick.
#6 Add Foam Board to Patio Doors
Cut the heat loss from that glass door by installing rigid insulation board over any doors or portions of doors you don't use during the cold months. Cut the panel to fit the door and slip it into the doorframe in the winter. Come spring, pop it back out.
#7 Put Insulation Sleeves on Water Heater Pipes

Keep pipes from losing heat (or worse, freezing and exploding one very cold day!), by wrapping them in a pipe sleeve. They're strips of fiberglass insulation that fit around the pipe. You can tape them to the pipe.
Bonus: You'll raise water temperature by two to four degrees, so you won't have to wait as long for hot water.
#8 Wrap Your Water Heater in an Insulation Blanket

If your water heater is old or in an unheated area of your house, consider insulating your water tank. It could reduce standby heat losses by 25% to 45% and save you about 7% to 16% in water heating costs, according to Energy.gov. You can find pre-cut jackets or blankets from around $20.
You'll need to wrap a gas heater differently than you do an electric one. For safety and access reasons, different elements of each type can't be covered. Read the instructions for your heater type carefully.
#9 Get a Fireplace Plug

Traditional fireplaces draw in as much as 300 cubic feet per minute of heated room air for combustion, then send it straight up the chimney, according to Energy.gov. A fireplace plug — an inflatable piece of urethane that you stick in the hearth when you're not using it that looks a lot like a square balloon — keeps cold air out and warm air in.
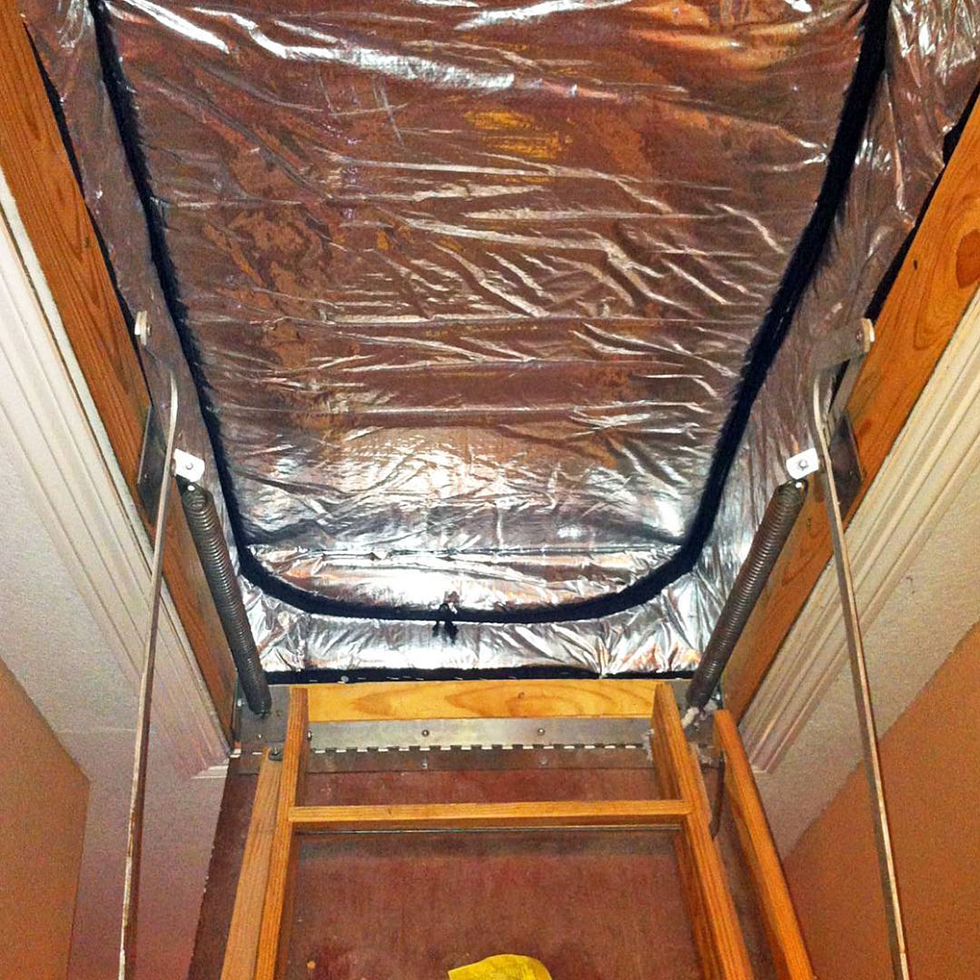
#10 Install an Attic Stairway Insulator

The door in your ceiling that leads to the attic is another source of money-sucking drafts. An attic stairway insulator (also called a stair cover) is a tent-like insert made of foam, aluminum-coated fabric, or fiberglass that you can strap or staple into the doorway.
Look for one with a zipper opening so you can crawl into the attic without pulling out the insulator.
Related: A DIY Energy Audit to Figure Out Where You Have Leaks
