Most homeowners have heard a few horror stories about lead paint. But the good news is that it’s not always harmful, especially if the lead paint is in good condition, according to the U.S. Environmental Protection Agency. However, peeling, chipping, damp, or cracking paint is a health hazard you should address immediately — either by painting over or removing it.
While you should typically consult an EPA-certified professional to remove lead paint, painting over it can be a DIY or professional project, depending on the risk of exposure.
Here’s what you should know about painting over lead-based paint.
Lead-Based Paint: Risk and Exposure
Before considering a lead-based paint project, find out whether the EPA requires a professional for the project and whether you’re at risk for exposure. Here are a few questions to consider:
- Was your home built before 1978?
- Is the paint cracking and peeling in a pattern resembling reptile scales?
- Does the paint create a chalky residue when it rubs off?
- Did the previous owners or residents ever mention the home’s having lead paint?
Renovations, repairs, or painting projects in any pre-1978 home or building can create unsafe lead dust. The EPA requires such projects to be performed only by lead-safe contractors. This mandate also applies to homeowners renting all or part of their homes or providing childcare at home, and to house flippers who may buy, renovate, and sell homes for profit.
In other cases, it’s possible to use a lead paint test kit to assess the risk. However, if you want to take on the project yourself, you should hire a certified lead-based paint inspector or risk assessor to determine whether your home has lead paint.
Testing for Lead-Based Paint
While the EPA recommends hiring a certified inspector or risk assessor to help you understand your risk of lead paint exposure, you can use a DIY test kit. But keep in mind they’re not always error-proof.
Most lead paint test kits use chemicals that change color when they come in contact with lead. Common kits may use sodium sulfide or sodium rhodizonate solution. You'll typically dip a swab in the solution, rub it on the paint surface, and look for a color change reaction.
While the market is full of DIY kits that claim to help you test for lead paint, the EPA recognizes just these three kits:
- Luxfer Magtech LeadCheck
- ESCA Tech D-Lead (also sold as Klean-Strip D-Lead)
- the State of Massachusetts lead test kit which is available only to Massachusetts state certified risk assessors and lead inspectors.
You can also easily find a lead-based paint inspector or risk assessor using the EPA's Lead-based Paint Professional Locator. Once you've identified two or three professionals near you, confirm their certifications and experience. You can narrow your search by asking for a written scope of work, a cost estimate, and references. Remember to look for testimonials and reviews online if they’re available.
Encapsulation vs. Removal
If the lead paint is in good condition with no peeling, flaking, chipping, or other damage, it’s possible to paint over it yourself or hire a professional. Painting over, or sealing, lead paint in this way is called encapsulation. Another option is paint removal, but it’s typically subject to municipal regulations and should be done by a professional. Understanding the difference will help you choose what’s right for your home.
Removal
This process involves permanently removing lead-based paint from surfaces and includes scraping, sanding, or using chemicals. Removal is more intensive than encapsulation and is typically done by professionals. It may involve sealing off areas and using specialized tools to prevent lead dust from spreading. Removal is ideal when there’s significant damage or risk of exposure, but it can be time-consuming.
Professionals follow best practices for lead paint removal including:
- Using personal protective gear such as a respirator, disposable coveralls, shoe covers, gloves, and eye protection.
- Minimizing dust with safe techniques like wet scraping with the help of a solvent, power sanding with HEPA filters, or heat stripping with a low-temperature heat gun.
- Removing all traces of dust and paint chips immediately after work by using a HEPA vacuum. Following up with wet mopping, disposable wipes, or rags.
Encapsulation
Encapsulation involves covering the lead paint with a specially designed coating that seals it in, preventing any particles from becoming airborne. It’s generally quicker and more affordable than removal, and it works best on surfaces that are still intact and in good condition. Generally, it's not effective on peeling paint or high-friction surfaces such as doors, windowsills, and floors. Lead encapsulation requires special polymer or epoxy/polyurethane-based paint, but certain cement-like materials created with polymers are also suitable.
Best Practices for Painting Over Lead Paint
Once you’ve had a lead paint risk assessment, you’ll know if there’s an active risk of lead paint particles or chips in your home. If the paint is intact and an EPA-certified professional has verified there’s no active risk, you can paint over the lead-based paint yourself.
Preparing Your Work Area

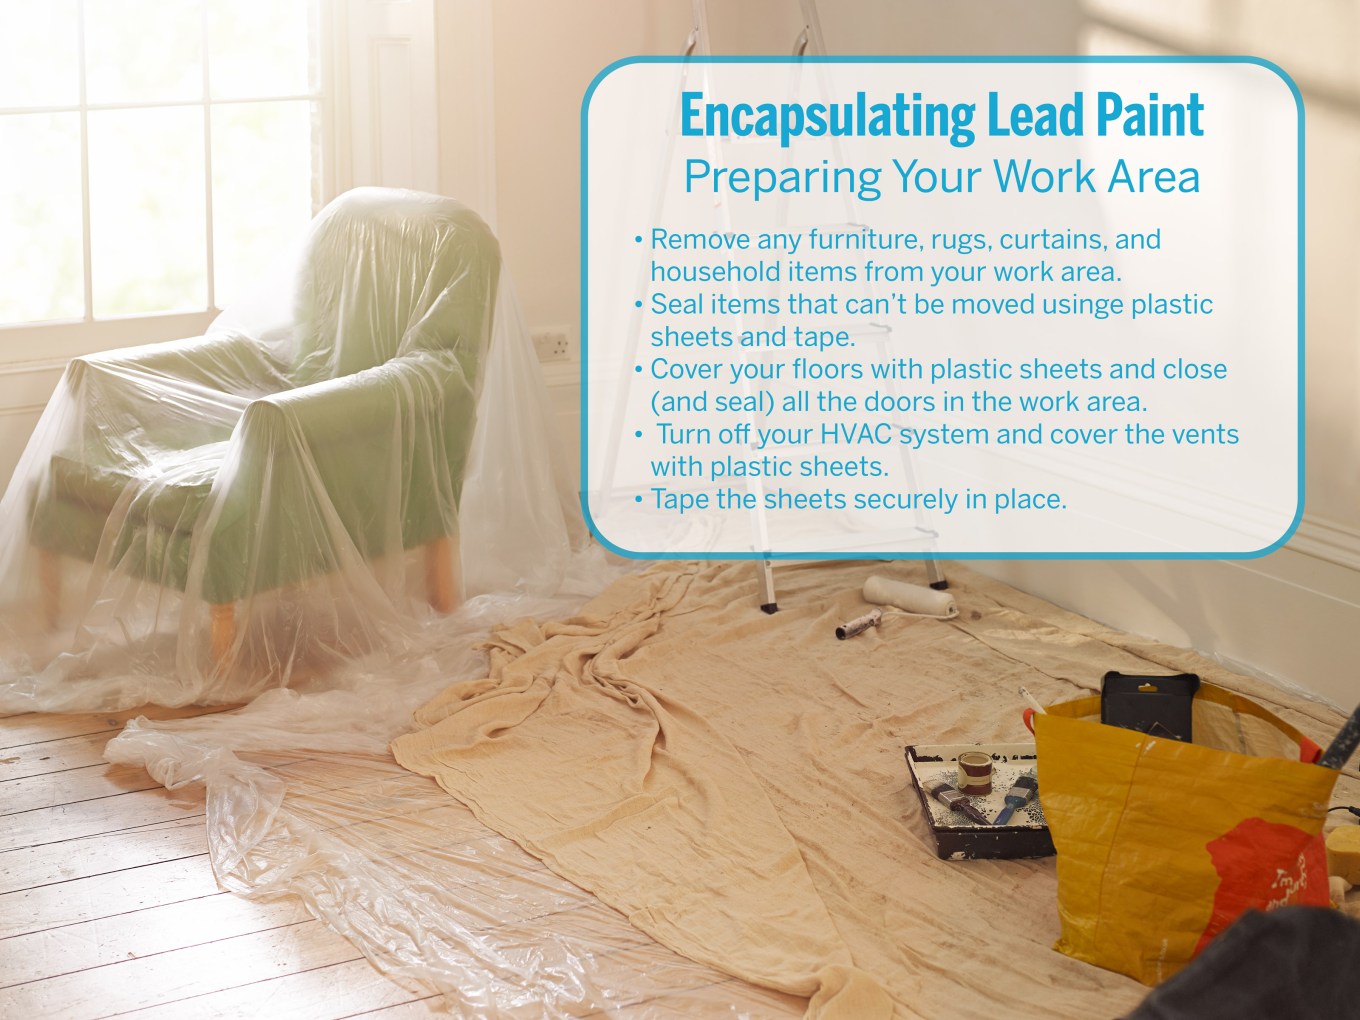
Before starting with encapsulation, take these steps:
- Remove any furniture, rugs, curtains, and household items from your work area.
- Seal items that can’t be moved using plastic sheets and tape.
- Cover your floors with plastic sheets and close (and seal) all the doors in the work area.
- Turn off your HVAC system and cover the vents with plastic sheets.
- Tape the sheets securely in place.
You can construct an airlock at the entryway by attaching one plastic sheet over the doorway and completely taping down all four edges for a secure seal. Once attached, cut a vertical slit down the middle of this sheet to create an entryway. Attach a second plastic sheet over the first, taping only along the top edge. This sheet will act as a flap, covering the slit in the first sheet to prevent dust from escaping.
Use the Proper Equipment

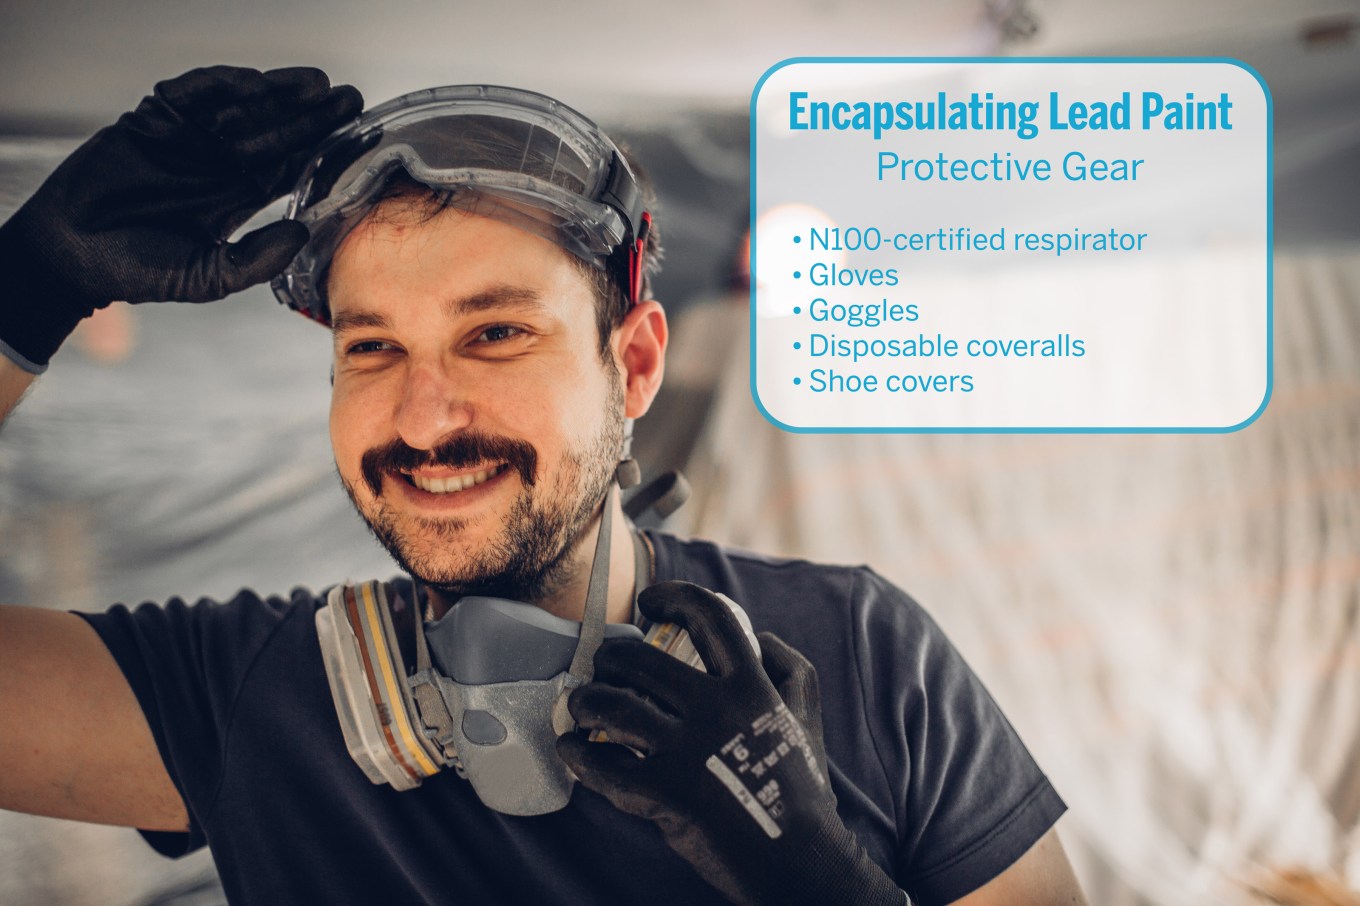
Wear protective gear, including an N100-certified respirator, gloves, goggles, disposable coveralls, and shoe covers. Ensure your space is well-ventilated and has adequate light. It's also important to choose the right kind of lead encapsulant and follow the manufacturer's instructions.
Many kinds of encapsulants are on the market, and the quality and reliability vary significantly, according to the EPA. The American Society for Testing and Materials has developed three standards for encapsulants, and the EPA recommends using only encapsulants that meet them. In some areas of the country, state or local government must approve encapsulants on a case-by-case basis, so you’ll want to check on your area.
Proper Cleaning and Waste Removal
Dispose of protective gear, plastic sheeting, and disposable tools according to local regulations for hazardous waste. To remove residual dust, wipe down surfaces with a damp cloth and vacuum with a HEPA-filtered vacuum.
Don't Hesitate to Call a Professional
Lead exposure is a serious health hazard, so hire an EPA-certified contractor for your lead encapsulation project if you have any concerns. A professional is also better suited to handling problems if the lead paint is chipped or damaged during the process. If you’re unsure about the health risks or safety status of your lead abatement project, always reach out to a professional.
